
Unveiling the Magic: Reverse Engineering Salesforce Marketing Cloud Journey Builder

Introduction: Salesforce Marketing Cloud Journey Builder is a powerful tool that enables marketers to create personalized customer journeys. However, what if you find yourself in a situation where you need to understand and replicate a complex journey built by someone else? That's where reverse engineering comes into play. In this blog, we will explore how reverse engineering can be used to unravel the inner workings of Salesforce Marketing Cloud Journey Builder and provide insights into its configuration.
1. Understanding the Basics
Before diving into reverse engineering, it's essential to have a solid understanding of the core concepts of Salesforce Marketing Cloud Journey Builder. Familiarize yourself with key terms like entry events, activities, decision splits, and exits. This knowledge will serve as the foundation for reverse engineering. If you haven't had a chance to read my blog on Journey Builder REST API documentation yet, you can access it by clicking here
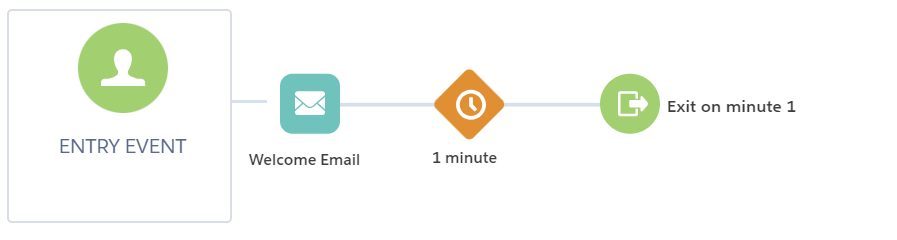
2. Analyzing the Journey
To begin reverse engineering, carefully examine the journey you want to understand. Start by
analyzing
the entry
event, which triggers the journey. Is it a data extension, a Salesforce object, or an API event?
Take
note of
any filters or criteria applied to the entry event to define the audience.
If you haven't watched the video on how to create an Entry Event via REST API, you can watch it now by
clicking the following link:
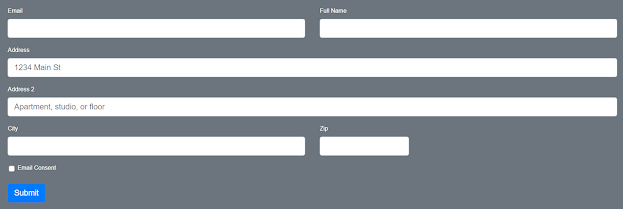
3. Analyzing Email Activity
The Email activity is a common component in customer journeys. Reverse engineering the email activity involves understanding the content, configuration, and targeting of the emails sent within the journey.
Identify the email templates or content blocks used in the activity. Analyze the subject lines, preheaders, and body content to uncover any dynamic personalization or AMPscript used.
Examine the email's configuration, including the sender profile, reply-to address, and sending classification. Understand the sending audience by reviewing the targeted data extensions or filtered lists.
By reverse engineering the email activity, you can gain insights into how to create engaging and
personalized
email communications within your own journeys.
If you haven't watched the video on how to create an Email Activity via REST API, you can watch it now
by
clicking the following link:
4. Decoding Decision Splits
Decision splits are crucial elements within a journey that determine the path a customer takes based on specific conditions. Reverse engineering decision splits involves identifying the criteria used to split the audience and understanding the outcomes of each branch.
- Understanding Decision Splits:
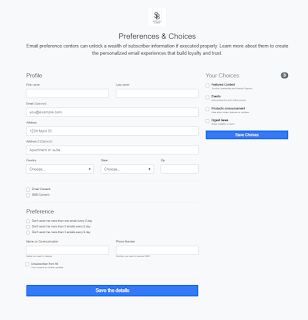
Decision splits are conditional branches in a customer journey that direct users down different paths based on predefined criteria. These criteria can include demographic information, customer behavior, preferences, or any other relevant data. By utilizing decision splits, businesses can deliver targeted content, offers, or experiences to specific segments of their audience.
- Utilizing a REST API for Decision Split Creation:
REST APIs provide a standardized way of accessing and manipulating resources over the web. They can be leveraged to create decision splits programmatically and seamlessly integrate them into existing systems. Here's a step-by-step process for creating decision splits via a REST API:
- Authentication and Authorization:
Ensure you have the necessary credentials and access privileges to interact with the REST API. This typically involves obtaining an API key or token.
Once you have obtained an access token, include it in the
Authorizationheader of your requests using theBearerscheme. Here's an example:Authorization: Bearer <access_token> - API Endpoint and Request Format:
Identify the API endpoint responsible for decision split creation. Familiarize yourself with the request format, including the required parameters, headers, and any additional data.
POST /interaction/v1/interactions<!-- JSON --> { "key": "created-via-the-api", "name": "API-Created journey", "workflowApiVersion": 1, "triggers": [], "goals": [], "activities": [] } - Define Decision Split Criteria:
Determine the criteria that will define the decision split. This could be based on user attributes, such as age, location, or purchase history, or it could involve more complex logic combining multiple factors.
<!-- JSON --> [ { "key": "MULTICRITERIADECISIONV2-1", "name": "Consent", "description": "", "type": "MULTICRITERIADECISION", "outcomes": [ { "key": "default_path_1", "next": "WAITBYDURATION-4", "arguments": {}, "metaData": { "label": null, "criteriaDescription": "EmailConsent is True" } }, { "key": "remainder_path", "next": "WAITBYDURATION-5", "arguments": {}, "metaData": { "label": null } } ], "arguments": {}, "configurationArguments": { "criteria": { "default_path_1": " - API Call:
Construct the API call using the appropriate HTTP method (e.g., POST) and include the necessary payload data. This data should specify the criteria for the decision split and any associated actions or paths.
<!-- SSJS --> - Handling Responses:
Capture and handle the API response to ensure successful creation of the decision split. Implement error handling mechanisms to address any potential issues or exceptions.
                                <!-- SSJS -->
  catch (ex) {
        var APIExceptionDE = DataExtension.Init("APIException");
        APIExceptionDE.Rows.Add(
            {
                Message: ex.message
                , Description: ex.description
                , InnerException: ex.jintException
                , FunctionName: "Main Block"
            }
        );
        Write(ex.message + '\n');
        Write(ex.description + '\n');
        Write(ex.jintException + '\n');
    }
- Authentication and Authorization:
- Example:
<!-- JSON --> -
Content Block : DefineDecisionSplitActvity
<!-- SSJS -->
5. Documenting the Journey
As you reverse engineer the journey, it is crucial to document your findings. Create a comprehensive document that outlines the journey's structure, including the entry event, activities, decision splits, and personalization details. This documentation will serve as a reference for future analysis and replication.
6. Replicating and Improving
Once you have successfully reverse engineered the journey, you can use the insights gained to replicate it or build upon it. Modify the journey based on your specific requirements and leverage the knowledge you have acquired to optimize the customer experience.
Conclusion
Reverse engineering Salesforce Marketing Cloud Journey Builder can be a valuable skill for marketers who want to understand and replicate complex customer journeys. By carefully analyzing the journey, decoding decision splits, uncovering personalization, and documenting the process, you can gain insights into the inner workings of Journey Builder and use that knowledge to enhance your own marketing strategies.
Remember, reverse engineering should be used ethically and for educational purposes. Respect the intellectual property of others and ensure you have the necessary permissions to analyze and replicate journeys.


Comments
Post a Comment